Premise
Work recently offered to pay up to $50 to help decorate our cubicles recently. Question: How can I take advantage of this in the most ridiculous way?
“Light Bulb Goes Off”…
Create a intelligent desk lamp that can be aesthetically nice looking and notification mechanism at the same time. Old Ikea Lamp + Rasperry Pi Zero W + RGB Led’s => SSH capable Desk Lamp with 30 RGB Led’s.
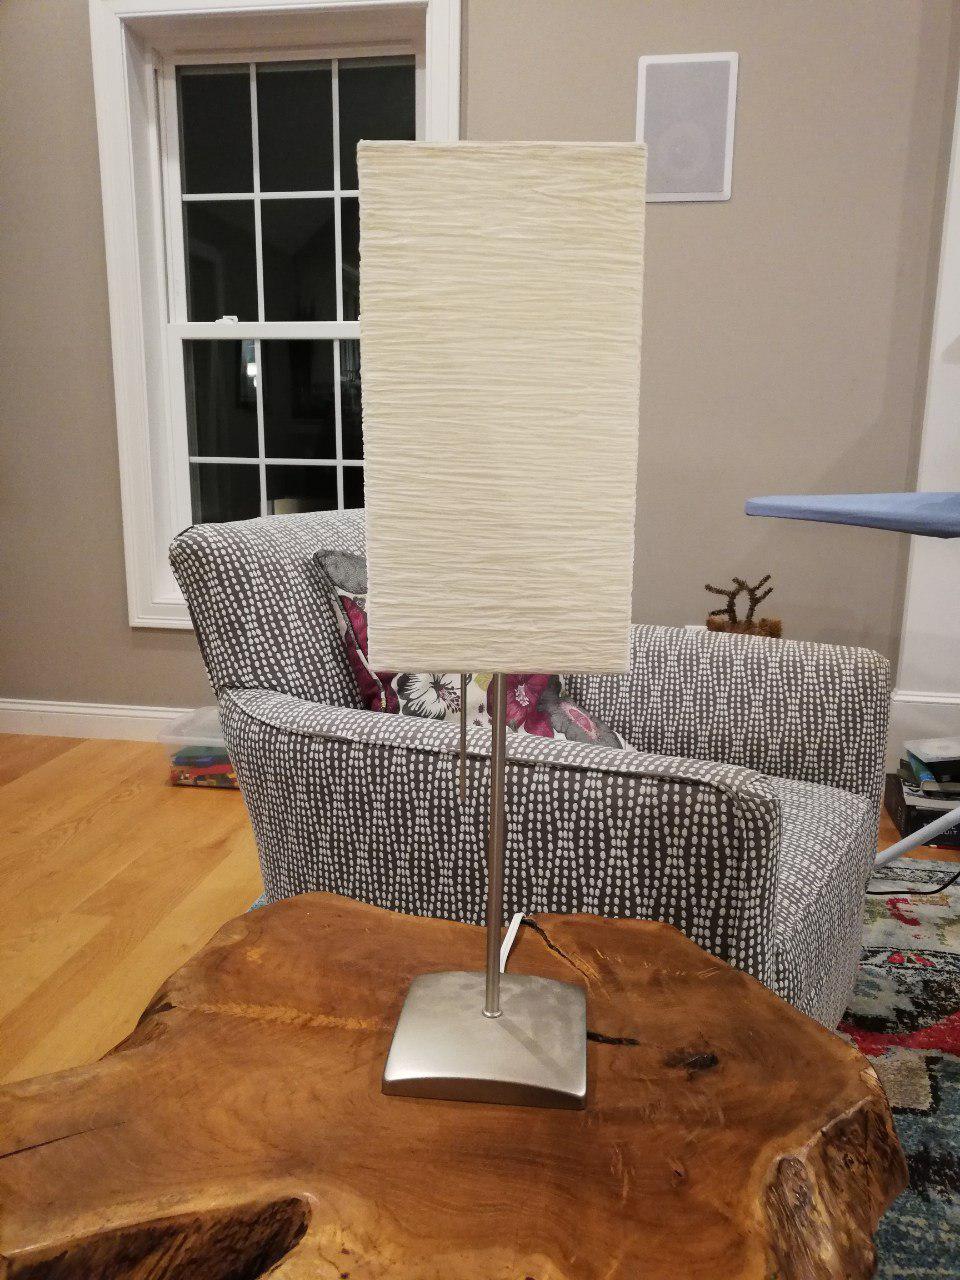
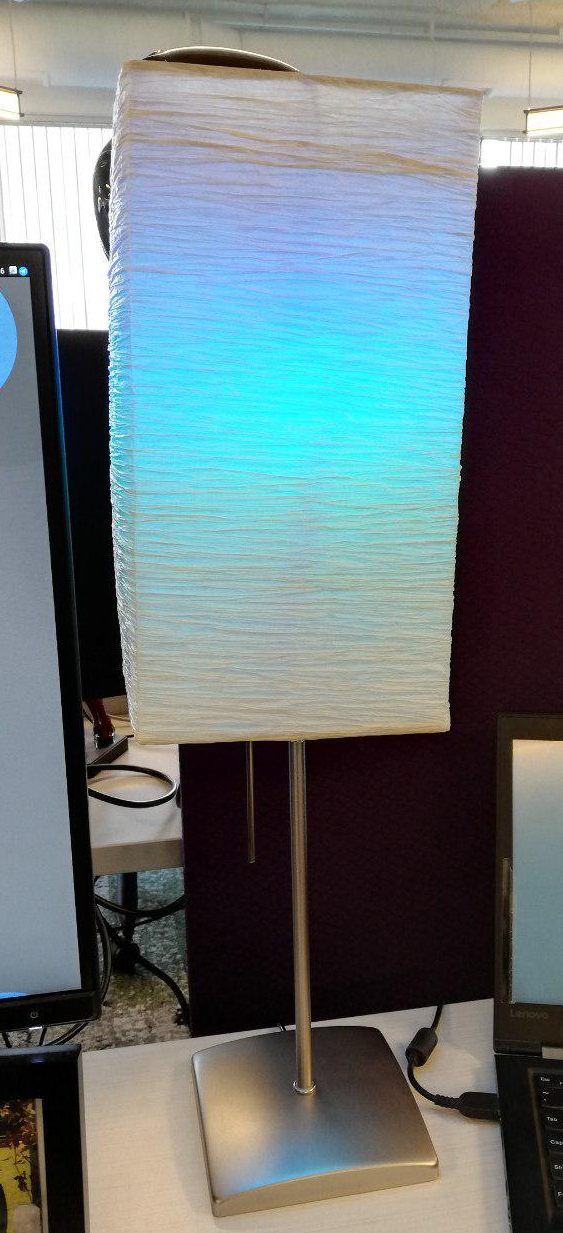
Final Product
Raspberry Pi Linux based Desktop Lamp running at 1 Ghz with 512 MB Ram on WiFi. 30 RGB Led’s controlled by python program, with pull-chain switch.

Build
Components
- Old Desk Lamp
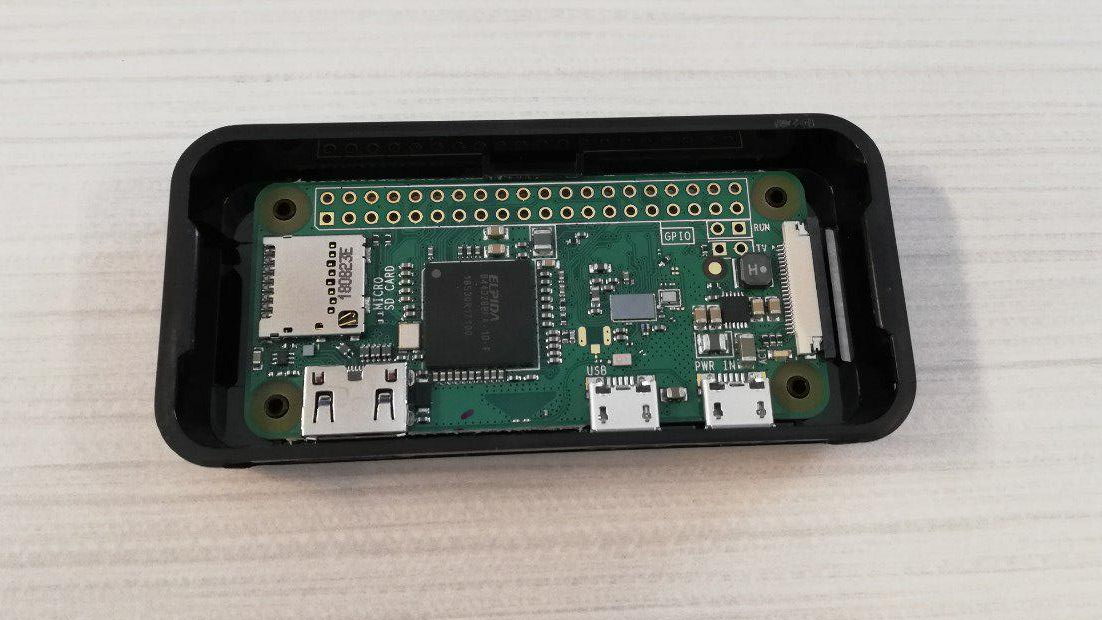
- Raspberry Pie Zero W/SD Card (16GB)/Case
- Micro USB Power Supply (2.5A/12.5W)
- 30 Addressable RGB Led’s (WS2812B)
- Spare Ethernet Wire
- 10k Resistor
- PVC Connector (for supporting LED strip)
Pictures

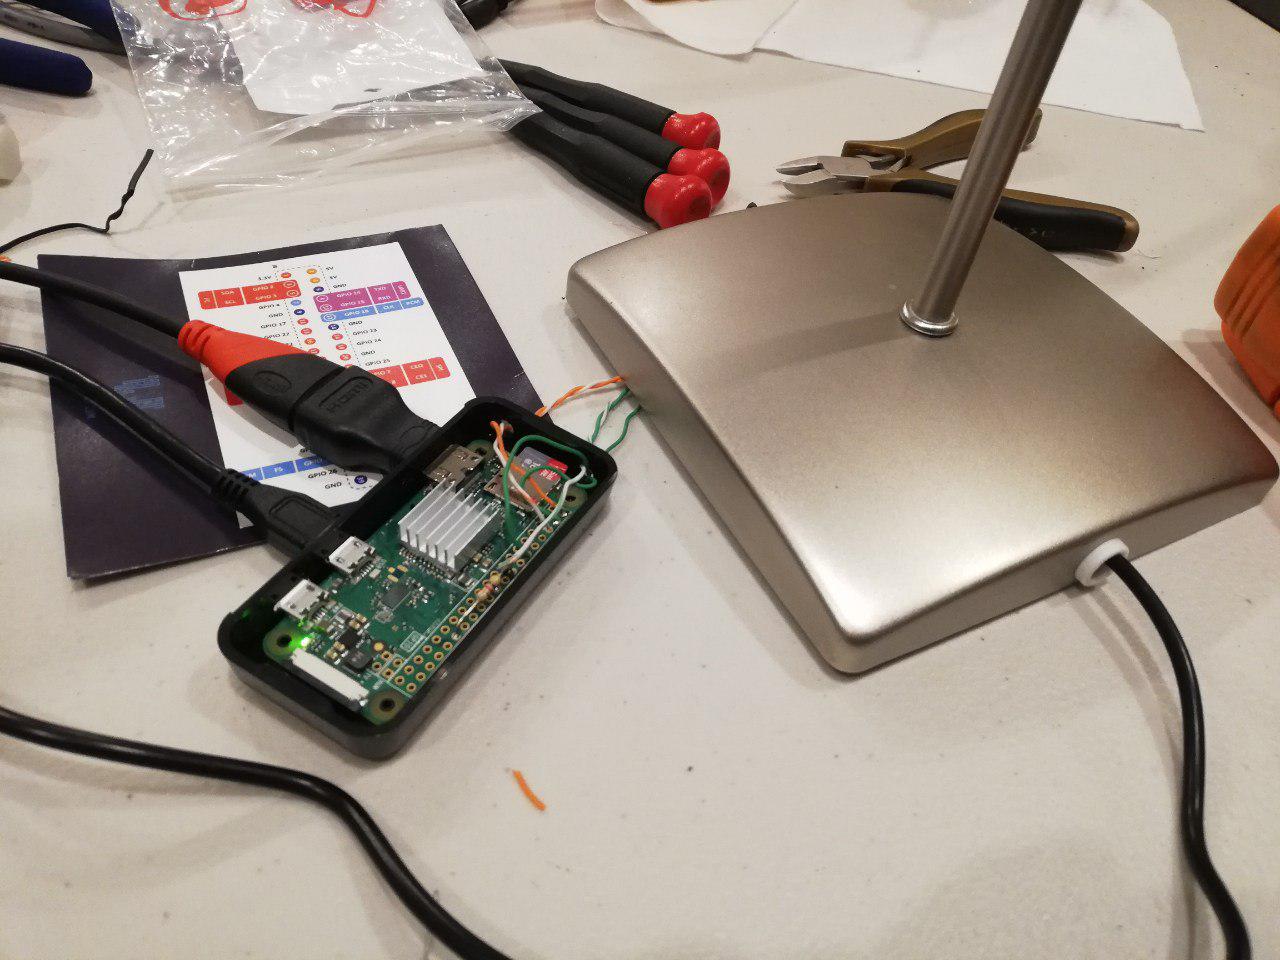
Steps
- Disassemble lamp as much as possible. This includes disassembling light assembly and getting access to wires running up the stem, and removing those wires.
- Drill holes in light assembly, and run new wires from base, through stem, and out new holes in light assembly. If possible also leverage existing switch and run wires to it. My setup contained the following:
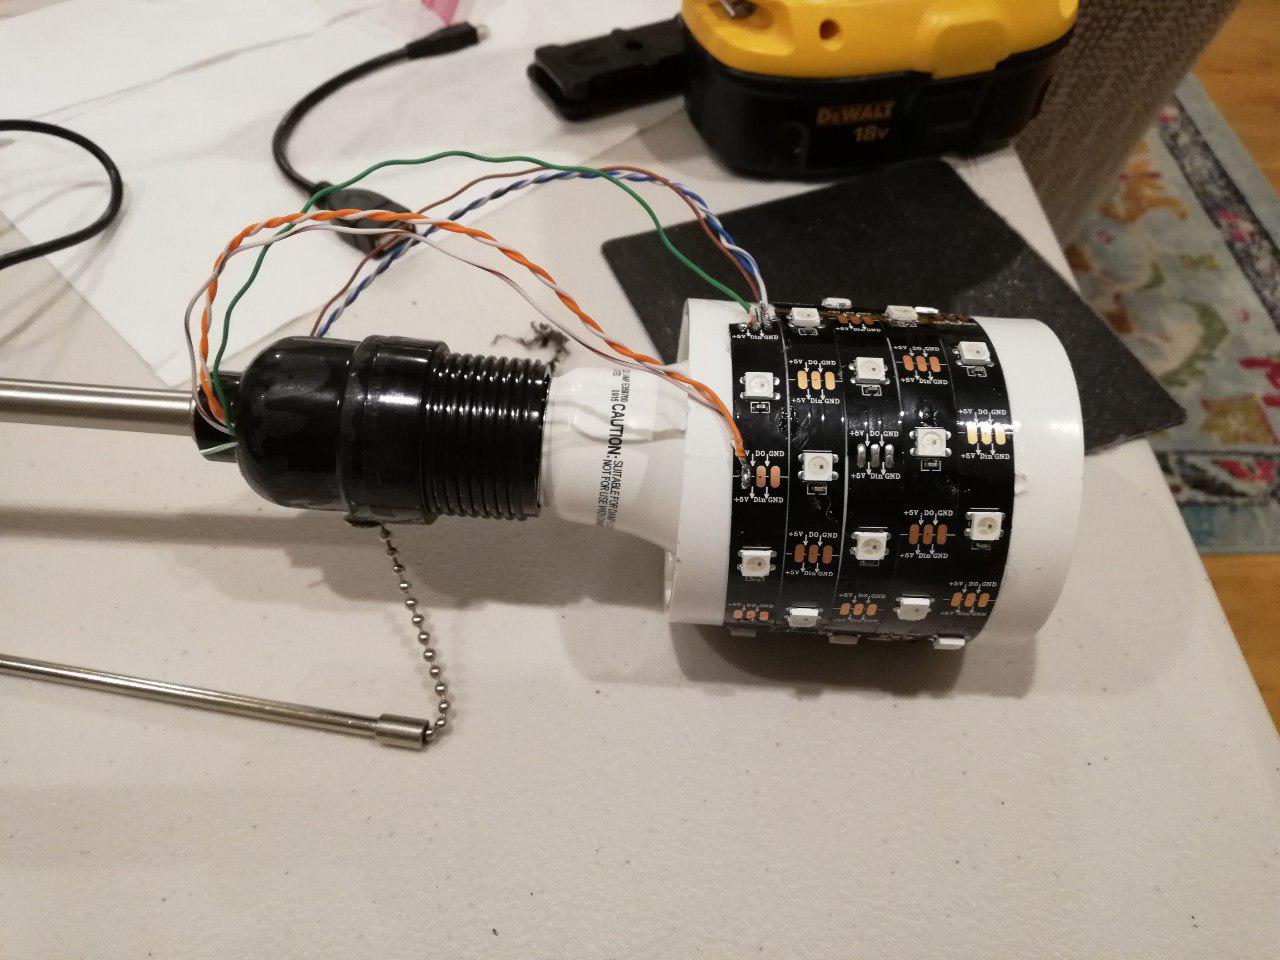
- 3 wires in parallel for the LED strip. (+5V power. Used 3 to support current of LED strip.)
- 3 wires in parallel for Ground to the LED strip.
- 1 wire to LED strip for data to control strip.
- 2 wires to lamp switch as input.
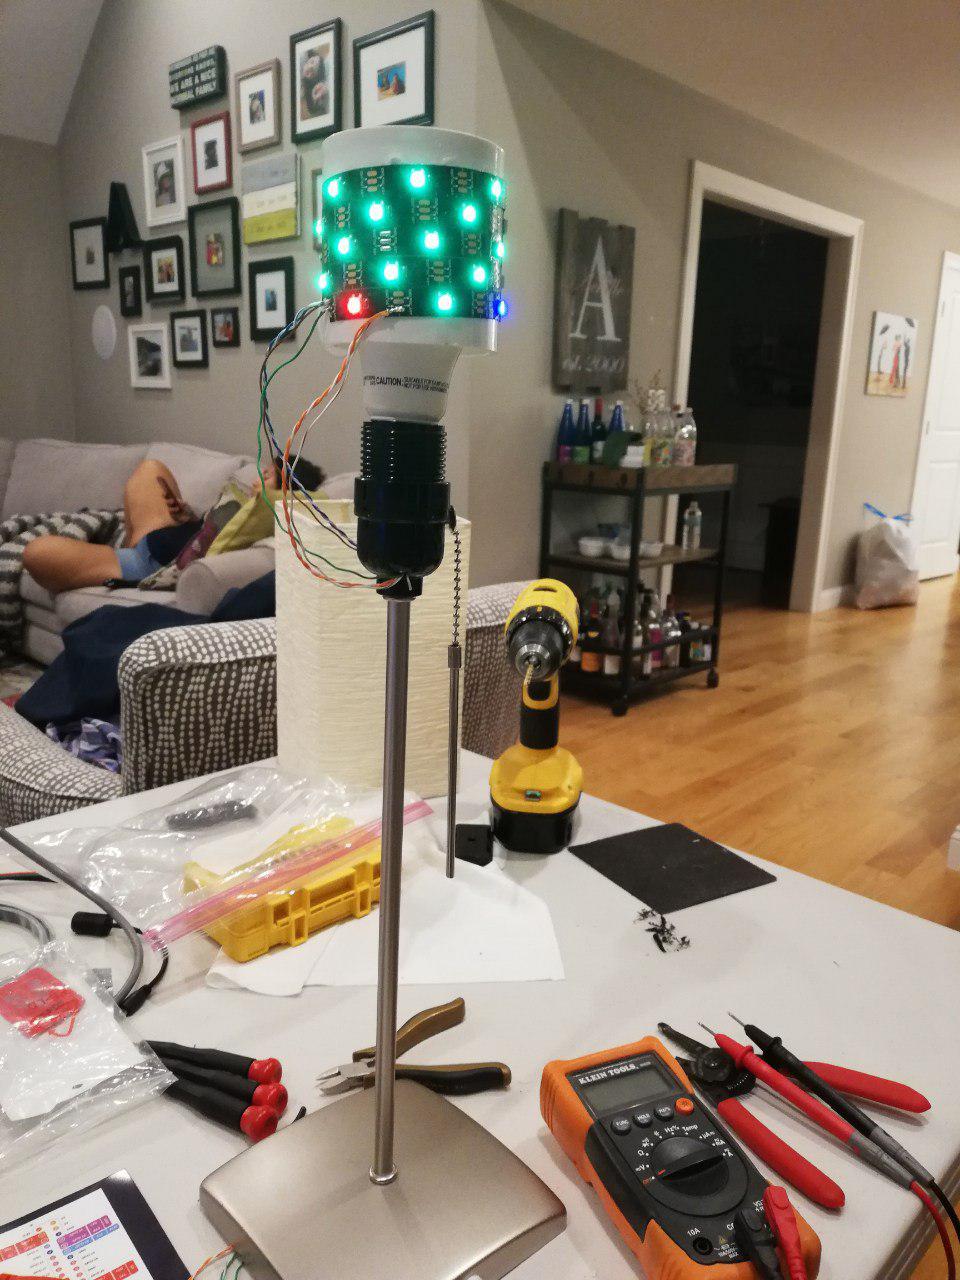
- Glue LED strip around PVC connector, and let dry. Solder wires to LED strip. Place PVC collar around existing bulb, and glue in place if necessary.
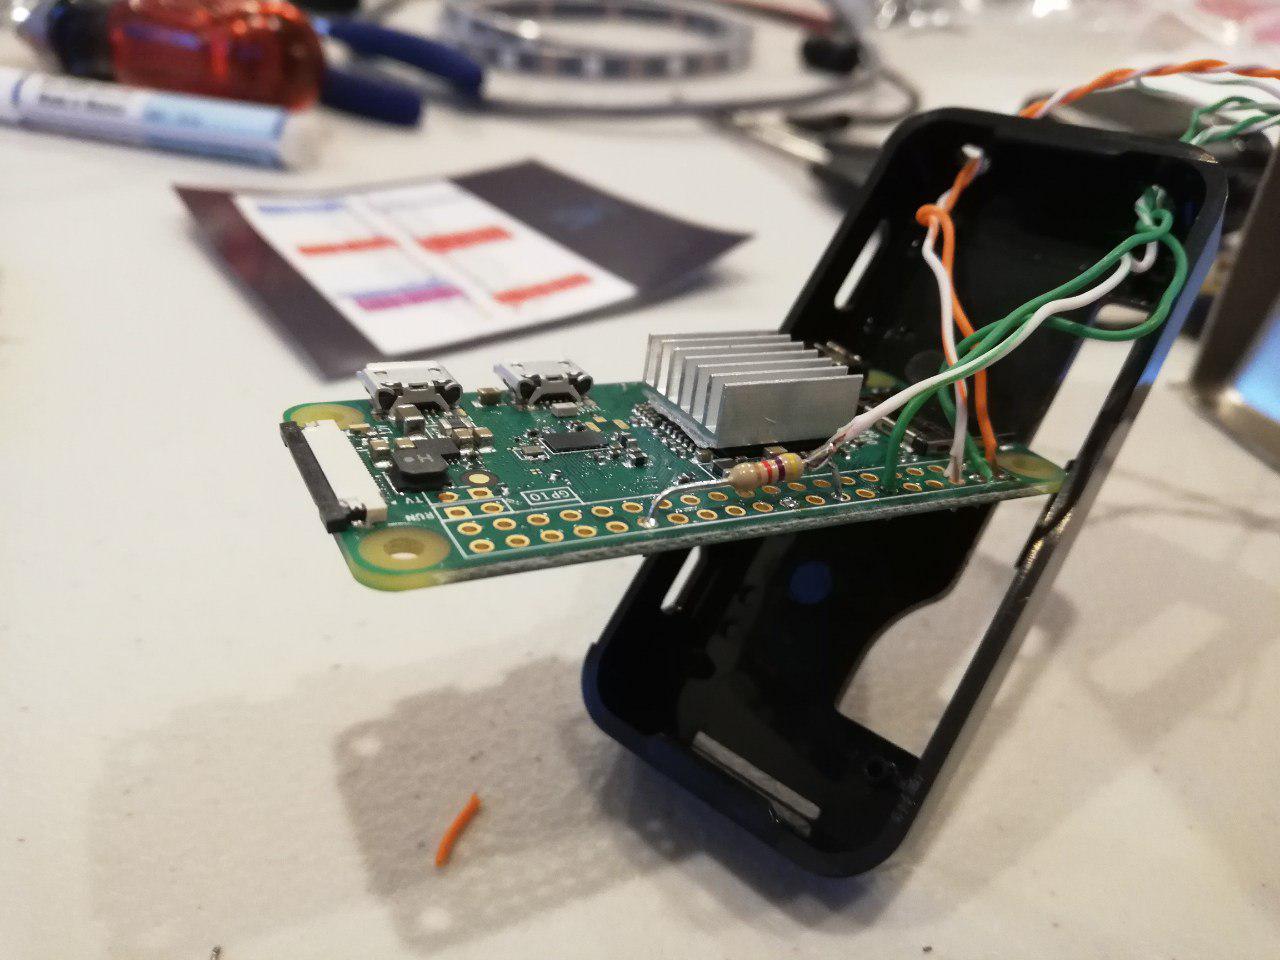
- Take wires from stem and run into Raspberry Pi case. Power (+5V) should be connected directly to power supply, with one additional line going to Raspberry Pi. Ground (GND) should be connected directly to power supply, with one additional line going to Raspberry Pi. LED data line should be connected directly to Raspberry Pi, and Switch lines should also be connected to GND and +5V with a 10k Resistor.
- One interesting insight that I learned, is that the Raspberry Pi Zero W does not need to be connected to power via the Micro USB port. Since the Raspberry Pi does not have a voltage regulator for the 5V, you can back feed the power directly via the GPIO +5V/GND lines.
- Make sure wires are in their final location, before soldering them all together. (ie. make sure power line is routed where you finally want it)
- Power the Raspberry Pi, and connect to monitor and keyboard. If you have not installed the OS, then do it now, and make sure you have a way to connect to it remotely (ie. enabling SSH). Also run some sample program to test the LED lights are working correctly.
- If necessary, debug hardware and/or software problems.
- Place Raspberry Pi in the base, and attach as necessary. If possible, put base cover back on lamp and finish assembling back together.
- Place on desk, and enjoy. SSH and update as necessary.