For the past 3 years our pool has been using one of the very common analog pool pump timers (eg. Intermatic T104R3 Time Switch) to turn the pump on day in and day out, but that all came to an end last week. One day I noticed that the pool was never turning off, and the time was not changing on it. Opportunity knocks!
Time to get rid of that old analog timer, and to replace it with a new digital device, one that can be controlled remotely and can be queried at any time.
New Pool Controller: Arduino and Relay Module
- Arduino Ethernet – This became the new controller, and a lot more advanced then the old timer.
- SainSmart 4 Channel 5V Relay Module – This relay module is used to replace the timer mechanical system.
By putting these 2 together, we get exactly what we want. A remotely controllable switch to turn the pump on and off.
Install
The existing timer came in a nice waterproof case, so the first step was to remove that old broken timer from the existing case, of course remembering to shut of all associated power first.

Existing Analog Timer
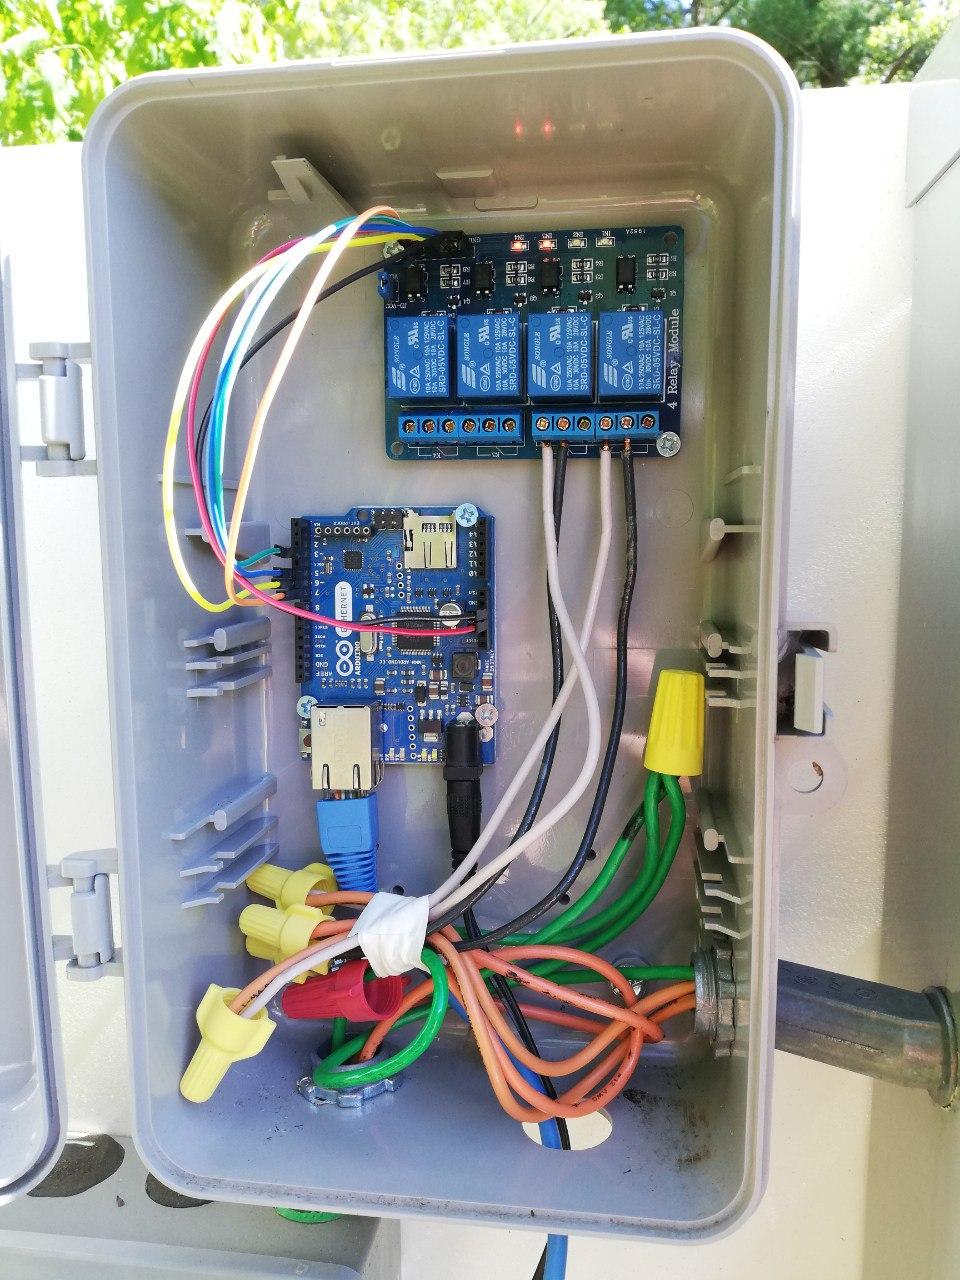
With the timer removed, there was just enough room to install the Arduino and Relay Module. These were installed in such a way to make room for each other, and to also allow for upgrading of the firmware in the future (which ended up being needed immediately). After that was done:
- The existing braided power lines were connected to the relays with some new solid core power wires using wire-nuts.
- The Arduino was wired up to the relay module.
- For simplicity reasons, power was delivered via an external power transforming and a nearby outlet.
- Network was supplied via a short Ethernet cord, and a jack which was previously installed for a Network Access Point.

Arduino and Relay Module Installed
All the necessary components are now in place.
Software
This is one of the areas in which I really won. Years ago, I was working on putting together software for an Arduino based project on which I could control the lights near my pool. The concept was to expose an HTTP interface which would turn the lights on and off. It was a simple pivot, to change this to control the pool, and a couple more HTTP endpoints to accommodate that.
With the updated code, the Arduino starts up, grabs a Dhcp address on the network, and then exposes the following endpoints:
/– Status page which reports the current state of the controller/pump/off– Turns the pump off/pump/on– Turns the pump on/uptime– Returns uptime of the device (this was used mostly for debugging)
This code was all written in C++, and uploaded via a serial connection.
As you may have noticed, there is nothing turning the pool on or off at this point. That was achieved with a simple cron script on a local server that I use for many other things. This is what that looks like:
# Pool Pump

###########

# 8am-12pm and 3pm-7pm daily (8h)

#

0 8,15 * * * curl -m 5 http://10.13.0.216/pump/on

0 12,19 * * * curl -m 5 http://10.13.0.216/pump/off
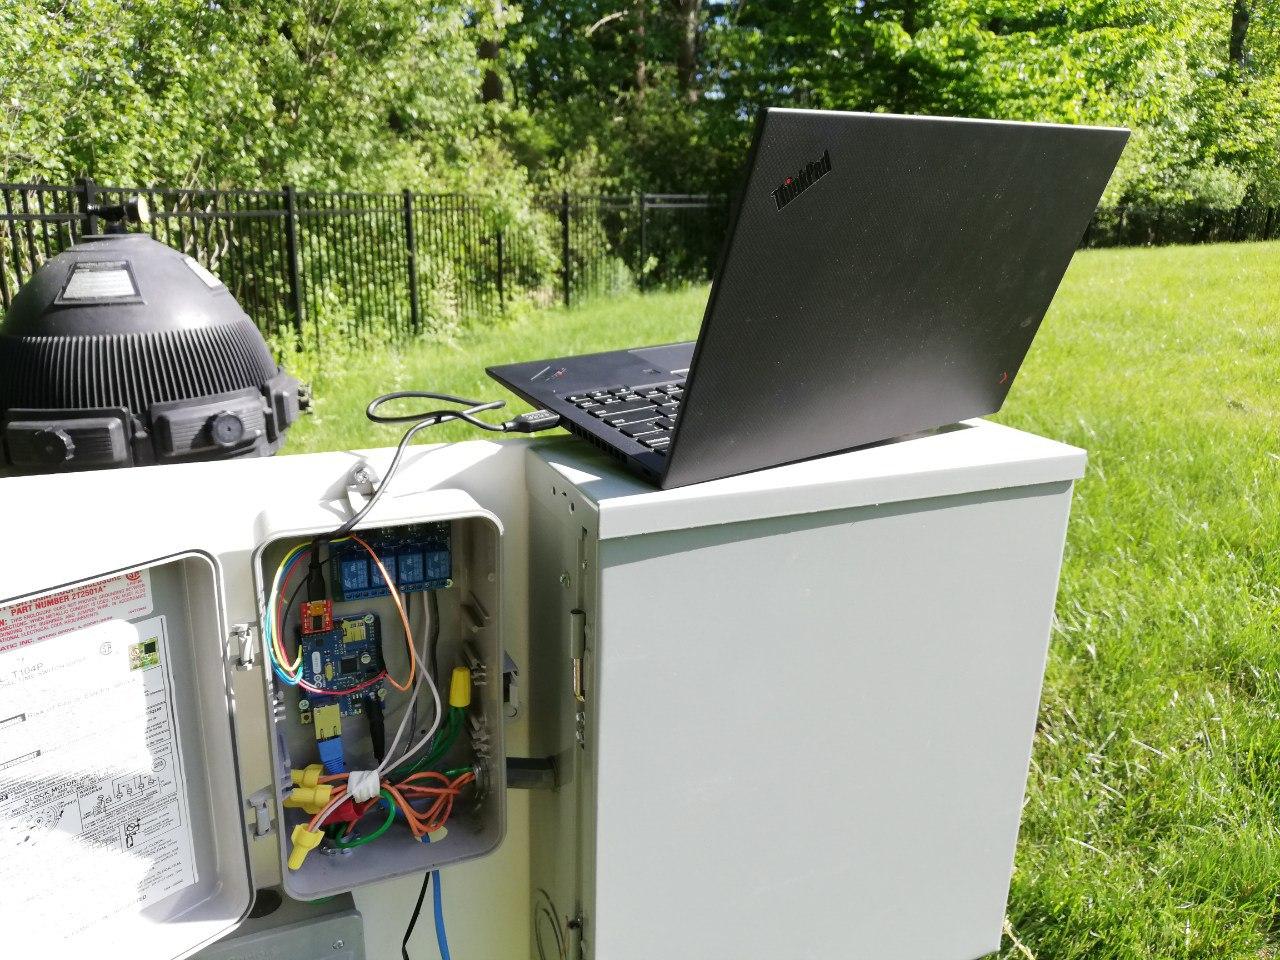
Uploading latest firmware to the Arduino
With that, the software is complete.
Summary
All in all, I am very pleased with how this came together. I would say that it came down to equal parts luck (having the right components on hand), and previous work (having most of the software complete). There was a little bit of debugging to resolve a couple small issues, but after that, new working pool pump controller. All in all, very satisfied.