Overview
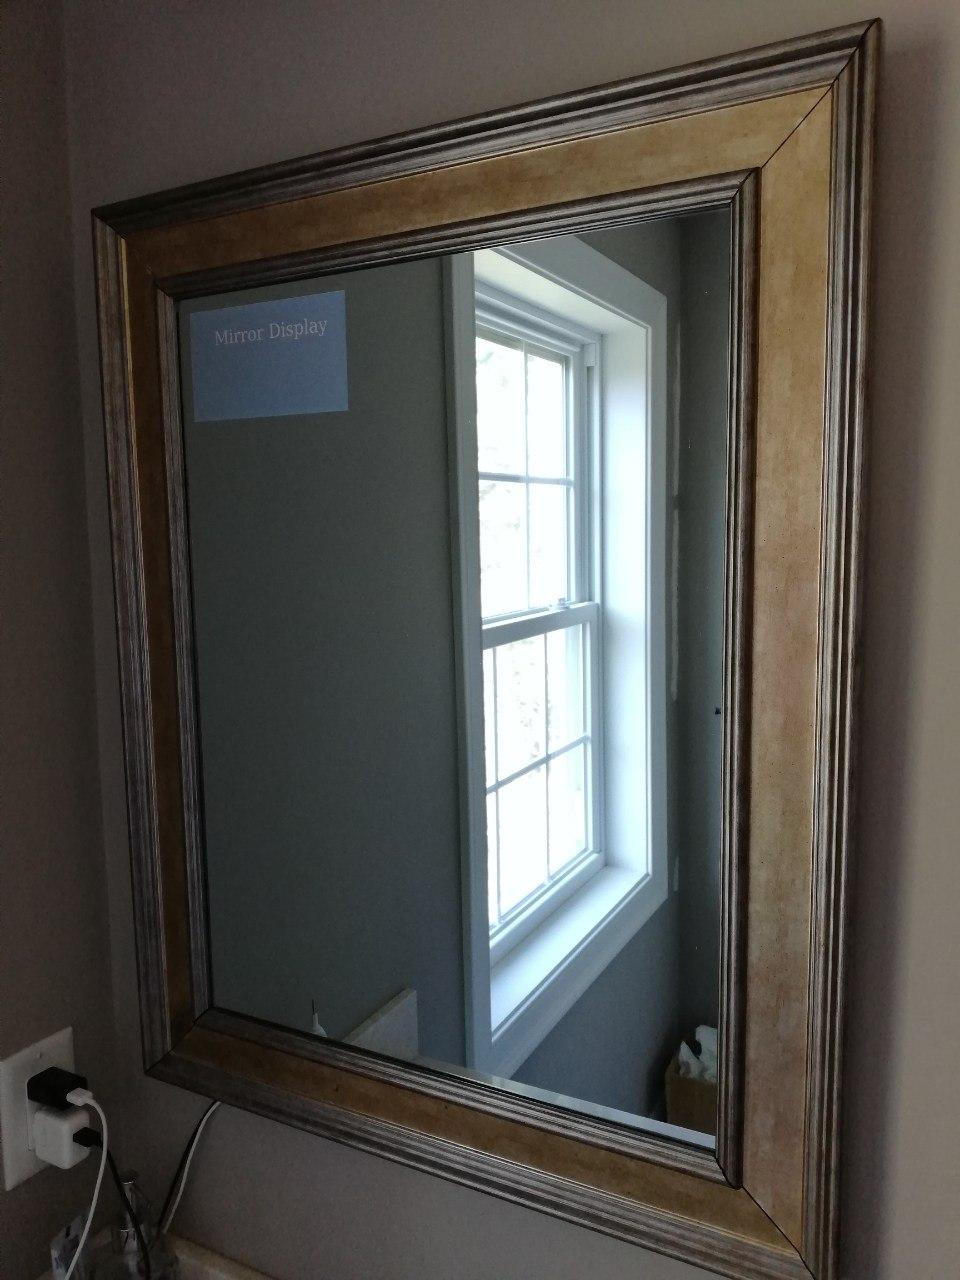
As seen and productized many places on the internet, this project is to build a mirror, which when activated shows a screen from behind it, and then when disabled disappears again completely. I have found this to be pretty cool since the first time I saw it, and this is the first time I have a real plan on building a decent solution. My intent here is to build a screen that can show me supplemental information in the morning while I am getting ready, such as the weather, my schedule for the day, or just a photo memory of the family.
As seen and productized many places on the internet, this project is to build a mirror, which when activated shows a screen from behind it, and then when disabled disappears again completely. I have found this to be pretty cool since the first time I saw it, and this is the first time I have a real plan on building a decent solution. My intent here is to build a screen that can show me supplemental information in the morning while I am getting ready, such as the weather, my schedule for the day, or just a photo memory of the family.
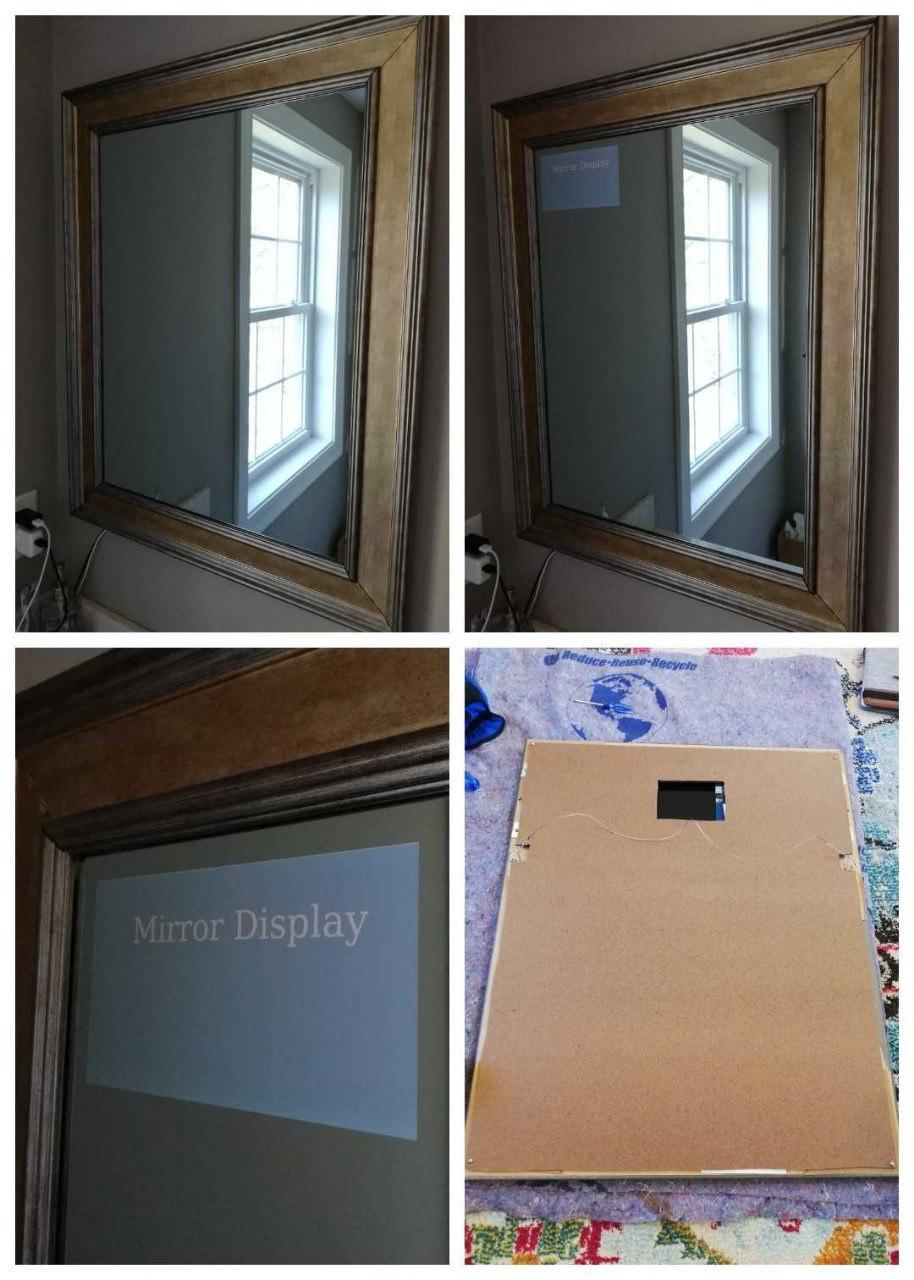
Finished Mirror hanging in Bathroom. Upper Left - Display Off, Upper right - Display On, Bottom Left - Zoom In on Display, Bottom Right - Back of Mirror when complete (without RaspberryPi attached)
Mirror
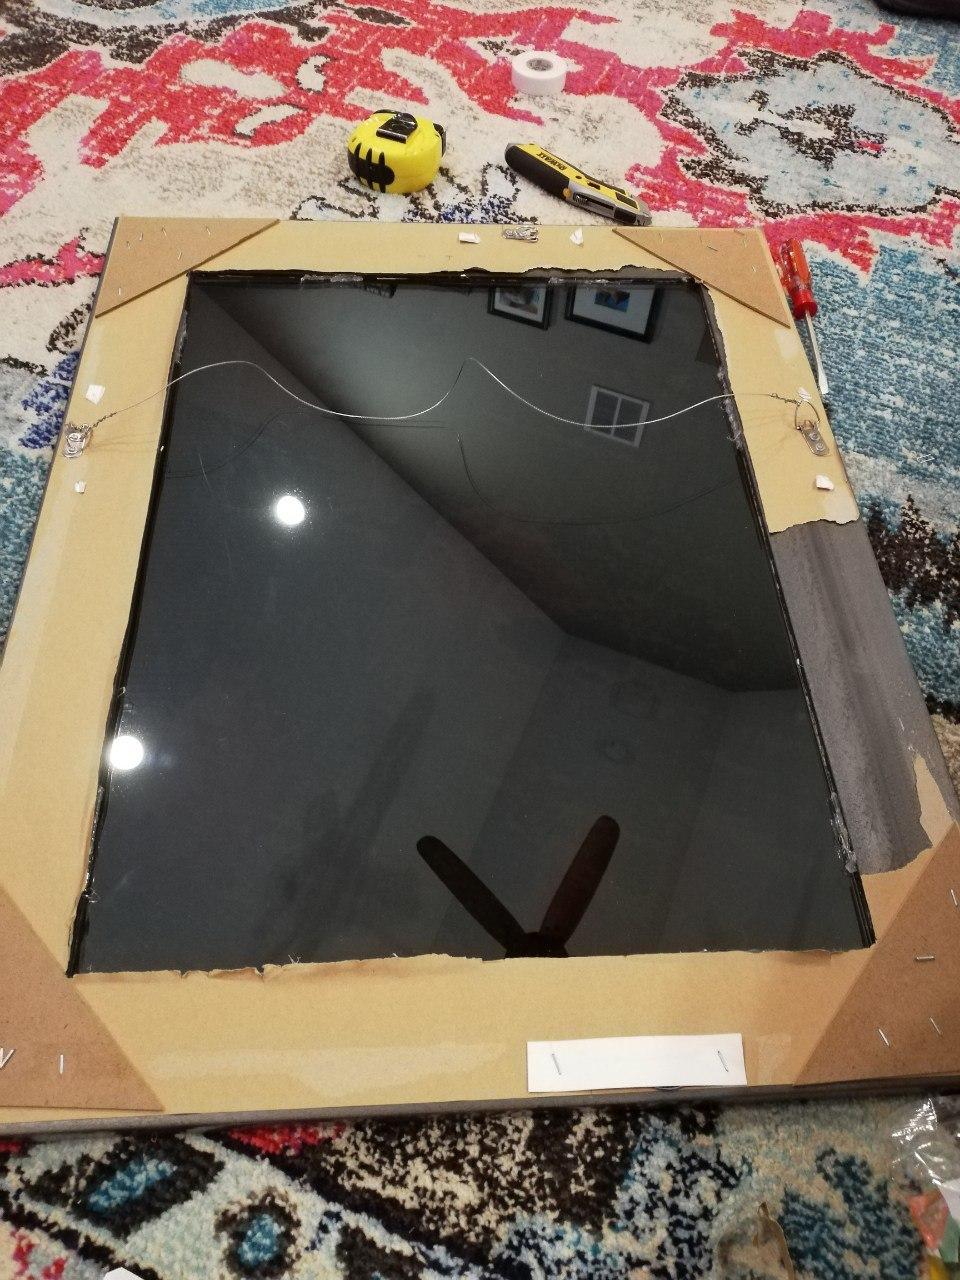
This was the easiest step. This mirror is one of two matching mirrors that I had in my bathroom previously. As mentioned, years ago, I replaced the mirror in it with a 2-way mirror, and put a tablet behind it. The first step here was to remove the old tablet, and to start getting it prepared.
Display
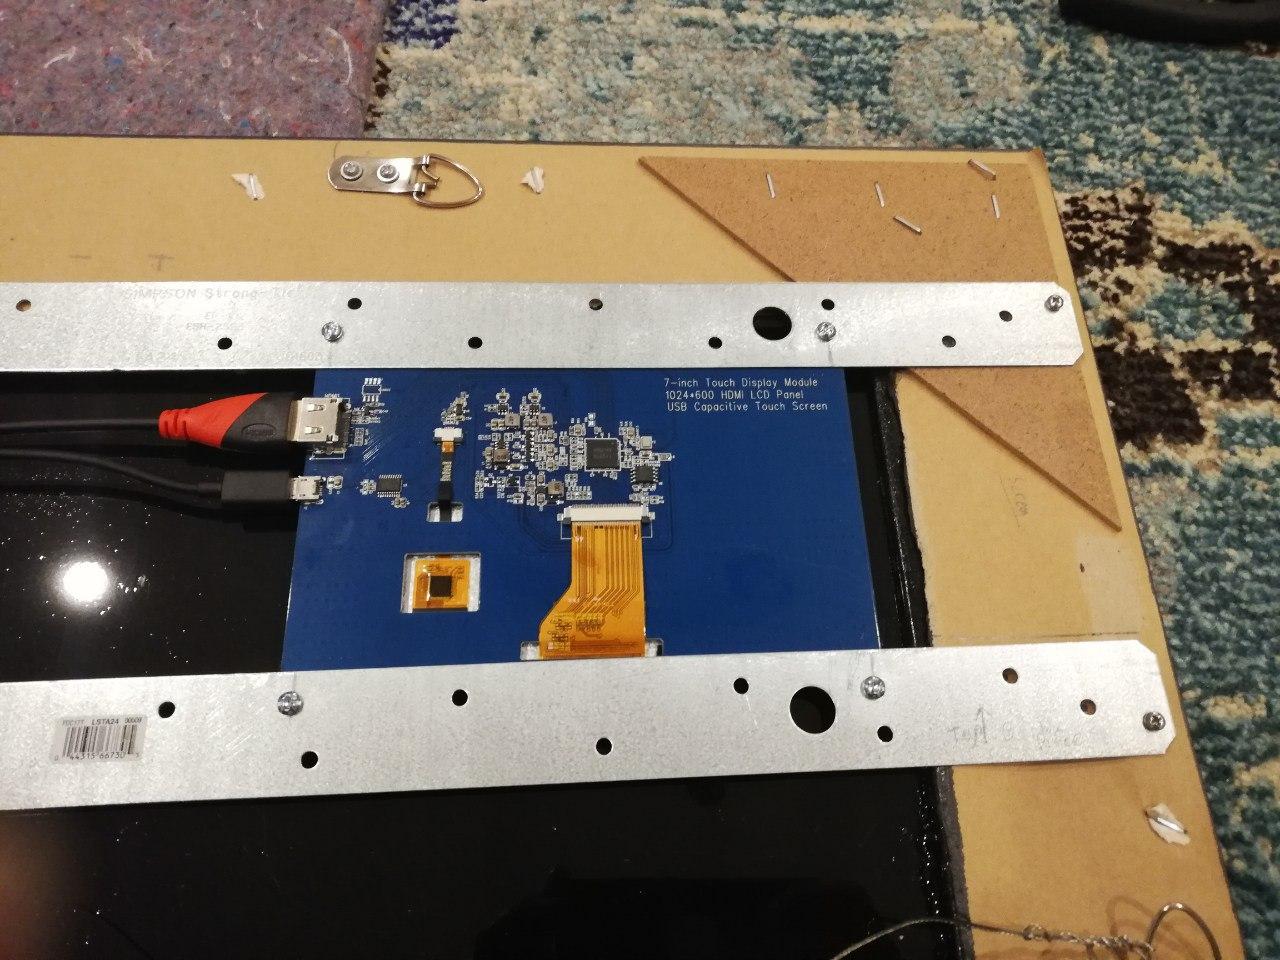
Recently I found an inexpensive Raspberry Pi screen with the SunFounder 7'' 1024×600 LCD Screen, that with a Raspberry Pi (Zero W) would make a great replacement for the old tablet. Full control of what is displayed, and full capability to automate and update device as needed.
Process
Preparation
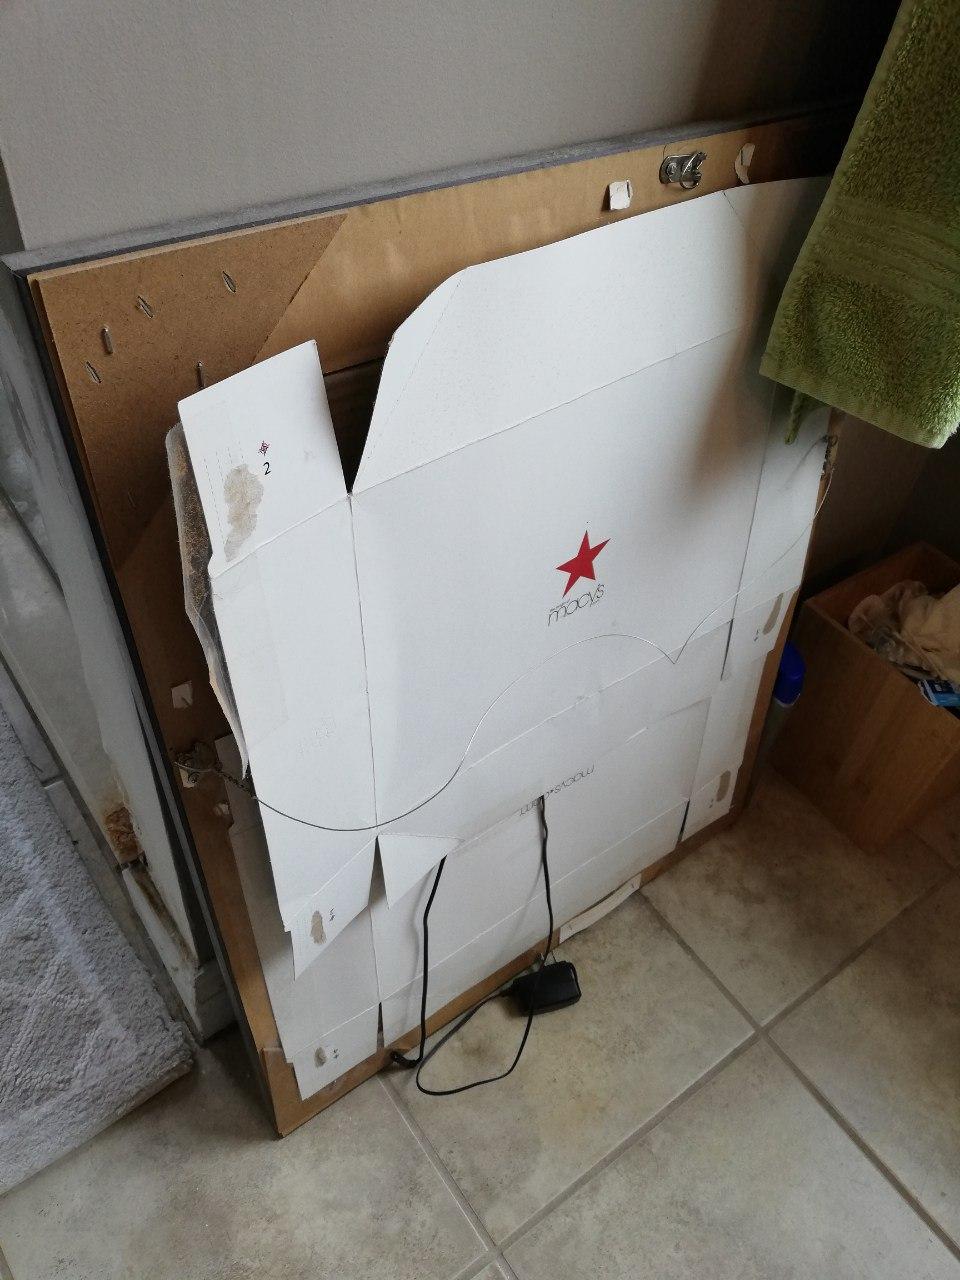
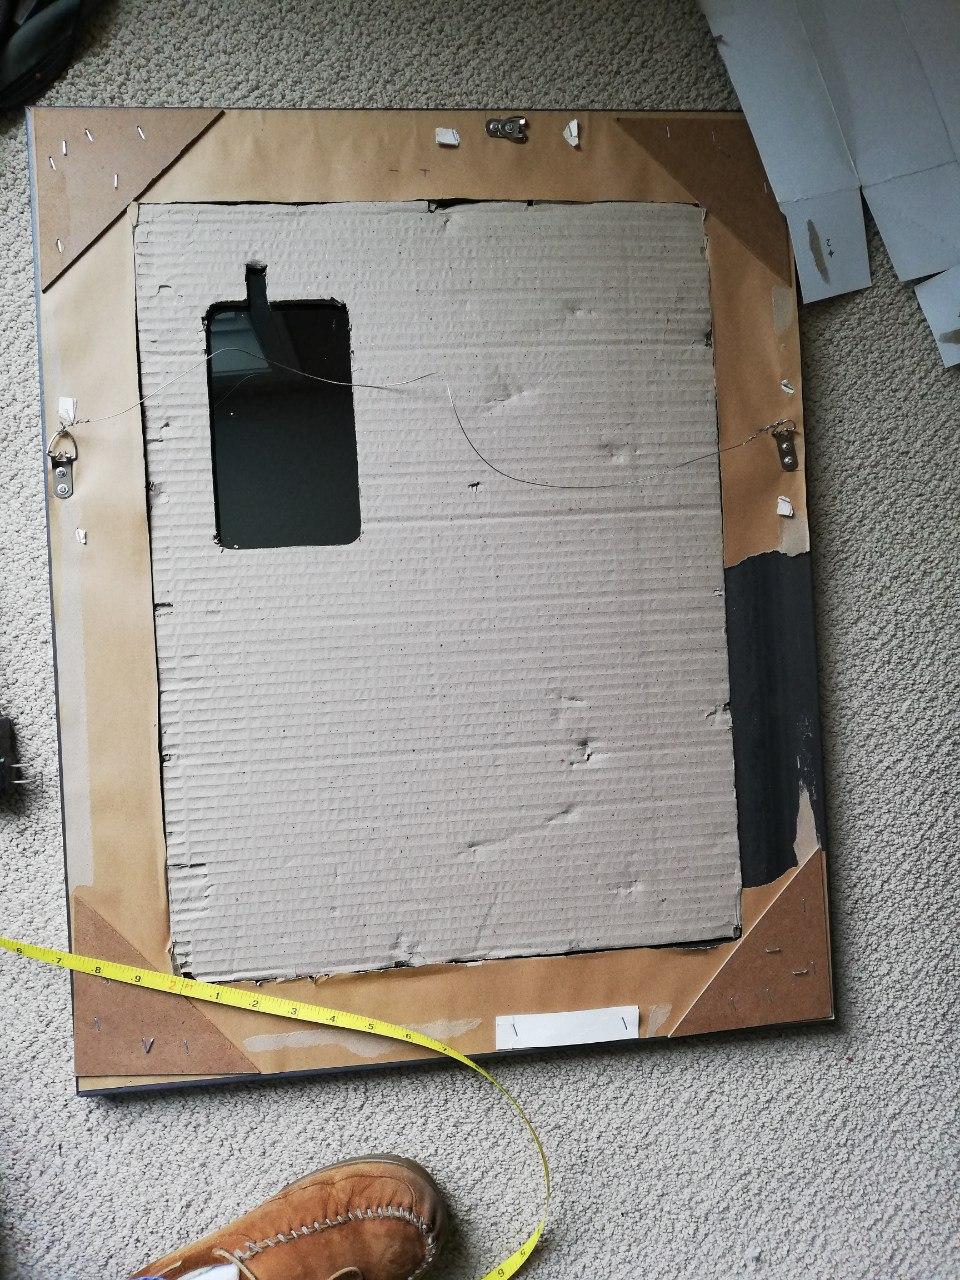
The first step here was to get the mirror ready for the project. This included taking down the mirror, removing the old back (which as you can see, was not a quality job before), and removing the tablet/cardboard behind the glass.
Glass Preparation
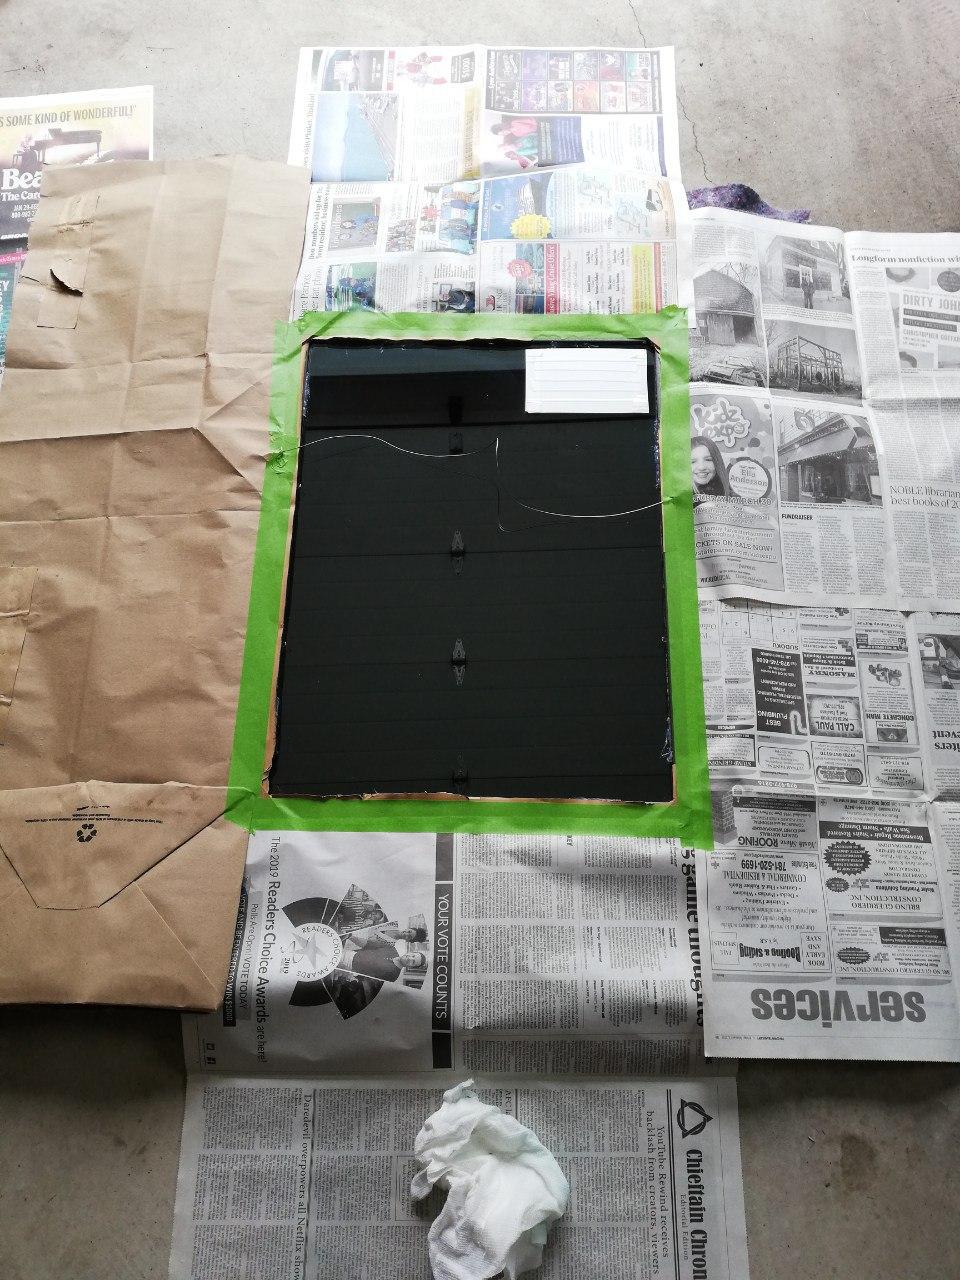
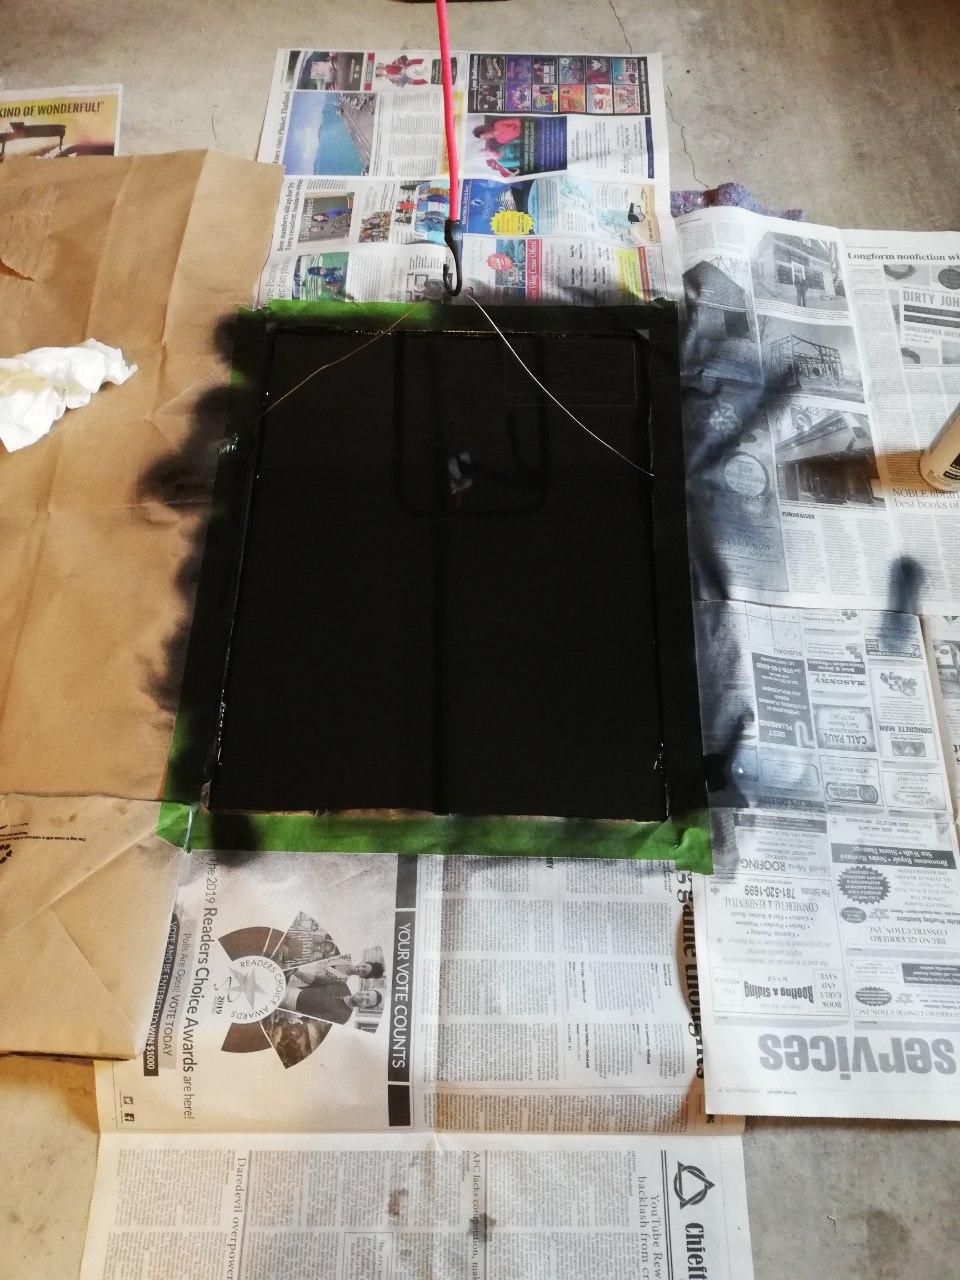
One of the problems I encountered before, was that with the light cardboard behind the glass, in some cases when the sun shined directly on the glass, it would reflect from the cardboard which would make the cardboard visible from in front of the mirror. To solve this problem, I decided to spray paint the back of the glass that would contain the screen and leave only the screen area exposed. To do this, I first taped off the area where the screen would go, spray painted the exposed areas black, and then removed the tape to expose the glass.

Screen Mounting
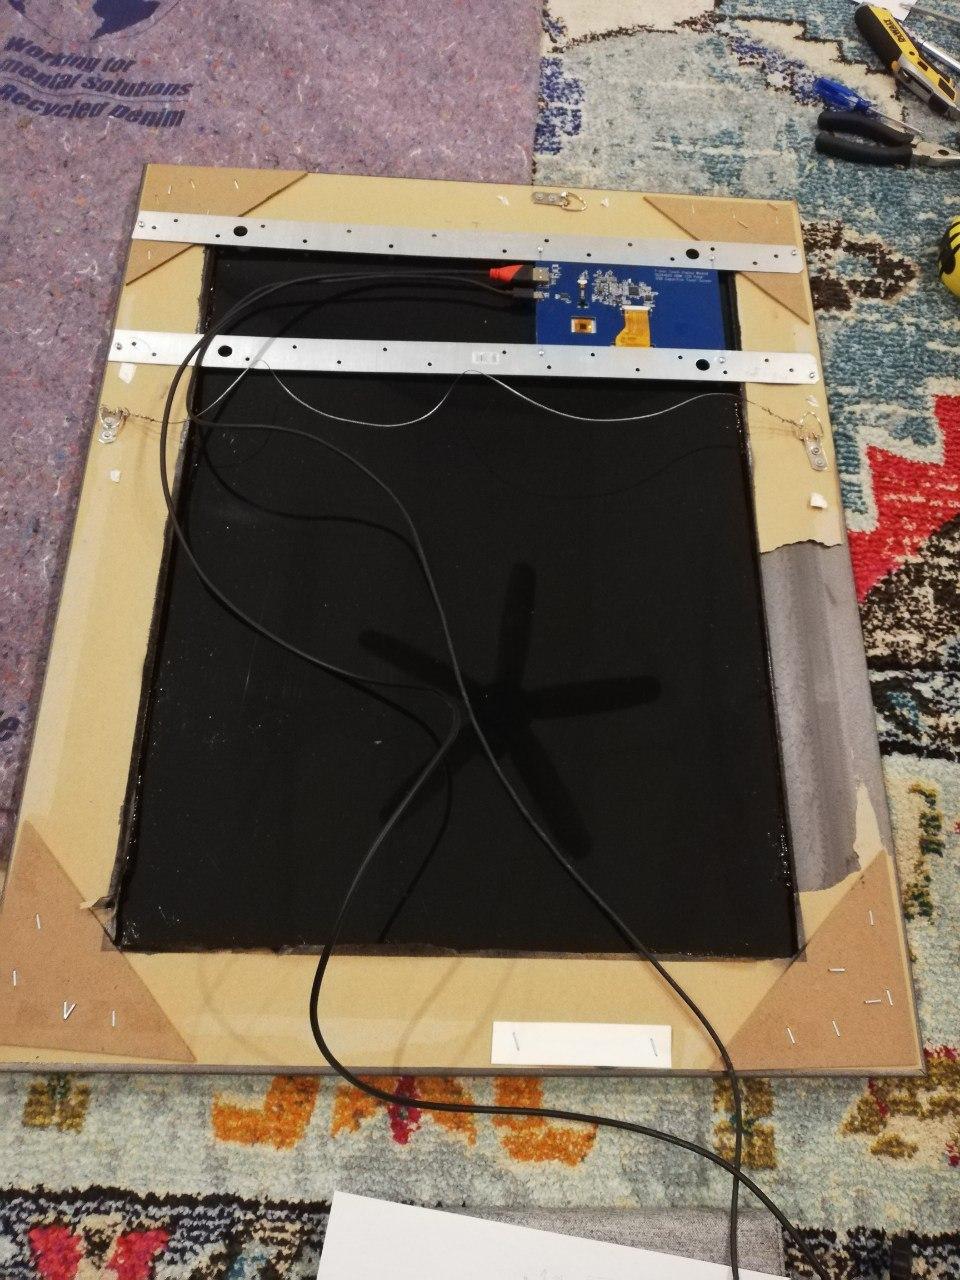
Now that the mirror is prepared, the next step was to test the display, and then mount it on the mirror. To test the screen, I attached it to a Raspberry Pi with software that I will discuss in a followup post. After testing was complete, I used a couple brackets purchased from Home Depot, to position the screen directly over the exposed mirror area. This was done while the screen was on to position in exactly the right spot.

Finish
To finish off the mirror, the cardboard was added back to the mirror for a needed buffer, and a new piece of backing was mounted to the back of the mirror (with a space for the connectors of the display, and room for inserting the Raspberry Pi). From there, the Raspberry Pi was inserted, cables were connected, power was plugged in, and the device booted.


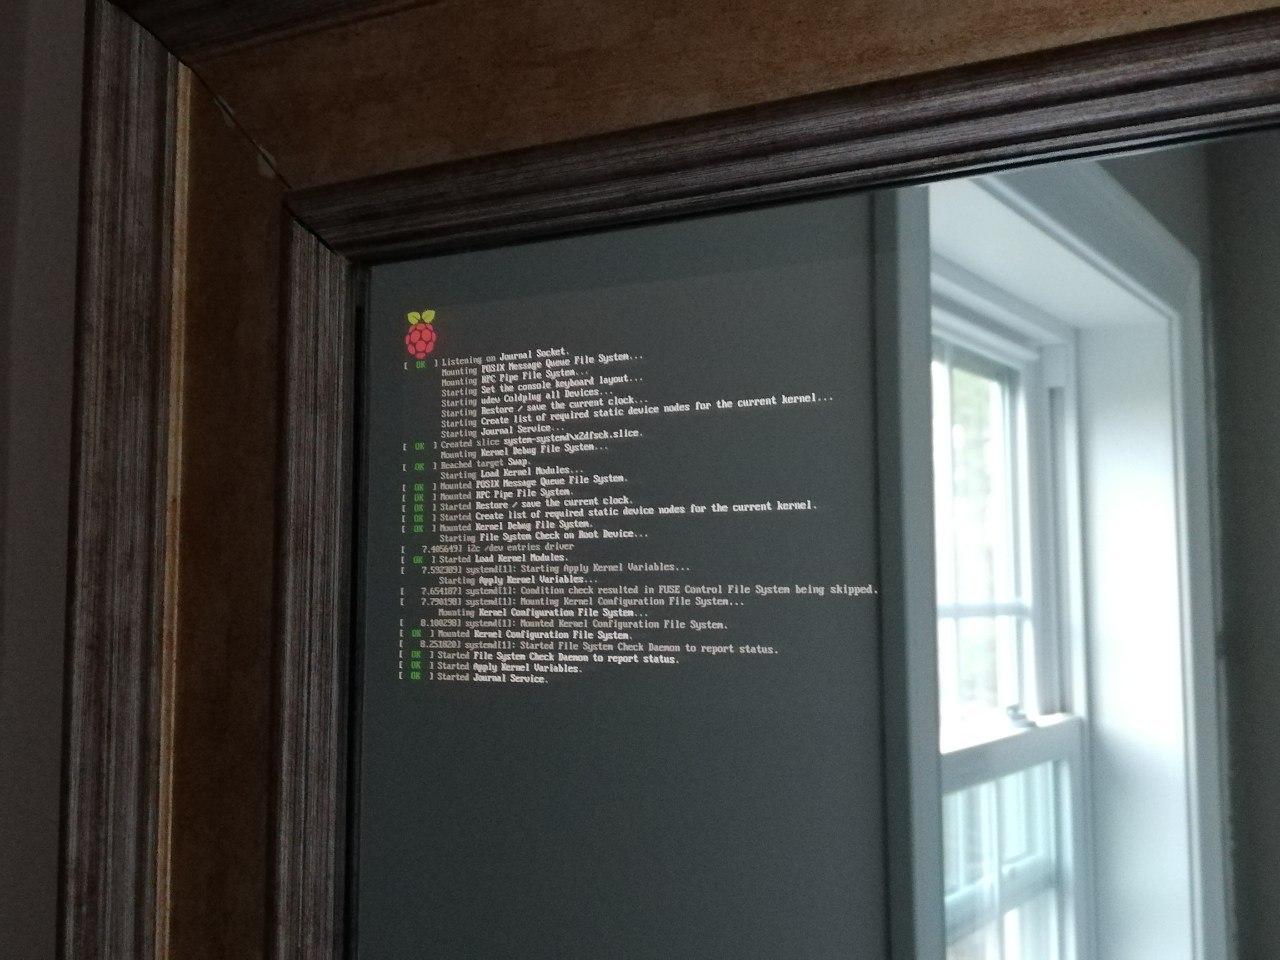
Success! Raspberry Pi is booting, and I am able to enable and disable the screen programmatically.